Is Your Workshop Empty? Try My Beginner Woodworking Projects
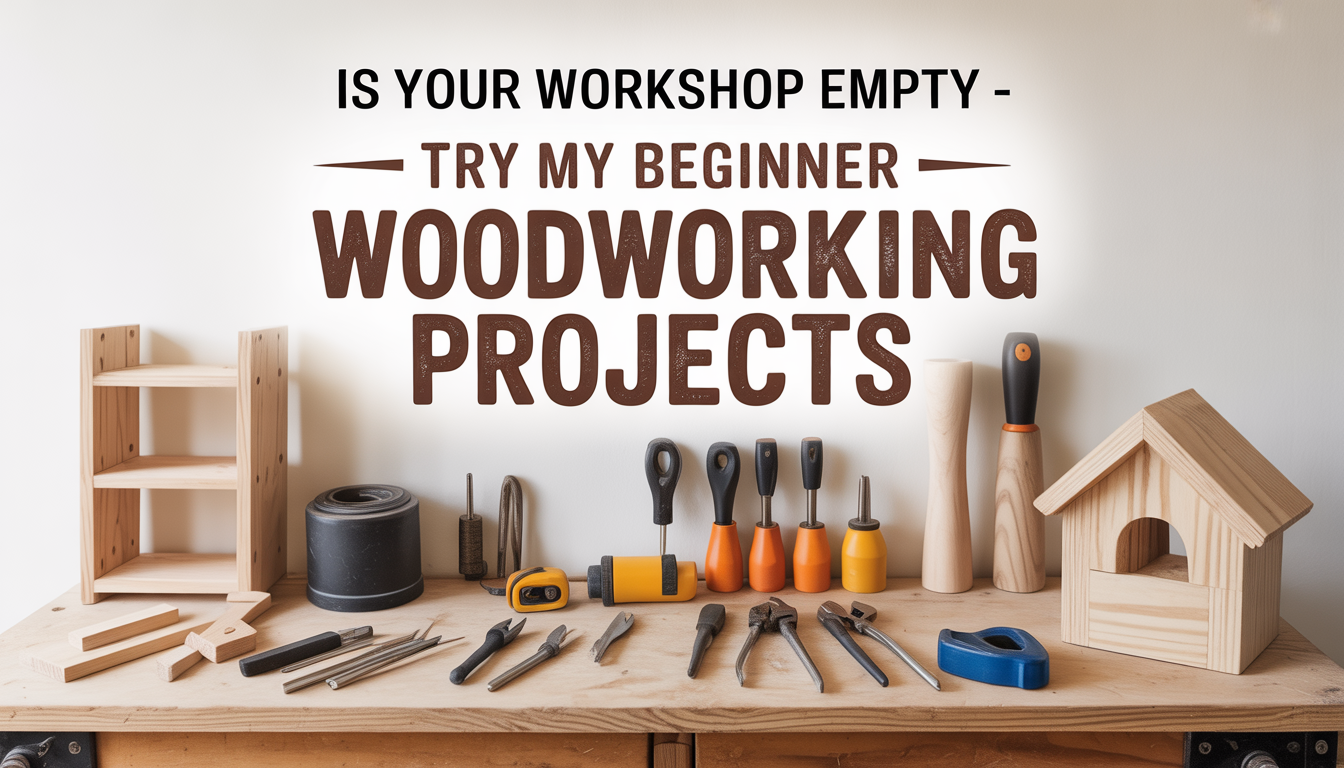
I used to treat my garage like a high-security storage unit for things I might need during a very specific type of apocalypse, one that apparently requires three broken weed whackers and a collection of “vintage” paint cans that have fused into solid blocks of colorful granite. Every time I looked at my empty workbench, I felt like a fraud who owned more flannel shirts than actual hand tools. I was terrified that if I tried to build anything more complex than a birdhouse, the Woodworking Police would burst in and confiscate my tape measure for “crimes against geometry.” It turns out, your workshop isn’t empty because you lack talent; it’s empty because you’re waiting for a permission slip that doesn’t exist, and your first project doesn’t need to be a hand-carved mahogany desk, it just needs to not fall over when you look at it.
The “Imposter Syndrome” of the Empty Shop:
The biggest barrier to woodworking isn’t the price of lumber or the complexity of a miter saw; it’s the paralyzing fear of the “Perfect Pinterest Shop.” We see videos of people in climate-controlled warehouses with $50,000 worth of stationary machinery, and we think, “Well, I guess I can’t build a shelf because I don’t own a laser-guided jointer.”
This is the “Equipment Trap.” I spent six months watching tool reviews instead of actually making sawdust. I mastered the vocabulary of woodworking before I mastered the vocation. To break the cycle, you have to embrace the “Ugly First Project.” Your workshop is a laboratory, not a showroom. The goal of these beginner projects isn’t to create an heirloom; it’s to build the confidence required to stop calling yourself a “wannabe” and start calling yourself a “maker.”
The “Essential Five”: Tools to Get You Moving:
You do not need a shop full of yellow and dewy-colored power tools to start. In fact, starting with too much gear is a recipe for confusion. I found my “Flow” when I narrowed my focus to the Essential Five.
- A Circular Saw: The Swiss Army knife of cutting. With a simple straight-edge guide, it can do almost anything a $600 table saw can do.
- A Drill/Driver Combo: For putting things together without the arm-aching misery of a manual screwdriver.
- A Speed Square: Your best friend for marking 90-degree lines and ensuring your world isn’t tilted.
- A Tape Measure: Because “about that long” is how you end up with a wobbly table.
- A Random Orbital Sander: Because sanding by hand is a punishment reserved for the lower circles of hell.
With these five tools, you can build 90% of the furniture in a standard home. Everything else, the routers, the biscuit joiners, the oscillating spindles, is just “flavoring.” Start with the base ingredients.
Project 1: The “indestructible” Workbench:
If your workshop is empty, the first thing it needs is a heart. You cannot build great things on a wobbly plastic folding table. The 2×4 Workbench is the rite of passage for every woodworker.
This project teaches you the fundamentals of structural joinery. You’ll learn how to “sister” boards together for strength and how to use a speed square to ensure your legs are actually vertical. I built my first bench using nothing but construction-grade pine and 3-inch deck screws. It was heavy, it was slightly overbuilt, and it was the most beautiful thing I’d ever seen. Why? Because it was the first time I realized that I could create a flat, stable surface where there was once only a pile of lumber. This bench becomes your “Anchor.” It’s where every future mistake will be made, and every future victory will be celebrated.
The Art of the “Butt Joint”: Simplicity is Strength:
Nobody tells you this, but 80% of furniture is just boxes. Bookshelves? Boxes. Nightstands? Boxes. Kitchen cabinets? Very expensive boxes. The “Butt Joint” is the simplest way to make a box. You take the end of one board and “butt” it against the face of another.
Professional woodworkers might scoff and talk about “dovetails” or “mortise and tenon” joints. Those are great for later, but for now, the glue-and-screw butt joint is your secret weapon. When you use modern wood glue, the bond is actually stronger than the wood fibers themselves. I mastered my early builds by focusing on making clean, square butt joints. If you can master the 90-degree corner, you can build a kingdom. Don’t let “fancy joinery” be the wall that keeps you out of the craft.
Project 2: The “Floating” Modern Bookshelf:
Once you have a workbench, you need to practice dimensioning. A floating bookshelf is the perfect “Level 2” project. It requires you to cut multiple pieces to the exact same length, a skill that is harder than it sounds.
I call this the “Consistency Challenge.” If one side of your shelf is 1/16th of an inch longer than the other, the whole thing will look like a leaning tower of literature. This project introduces you to the stop block. Instead of measuring every board with a tape measure (which introduces human error), you clamp a scrap piece of wood to your workbench and use it as a physical “stop” for your saw. This ensures every piece is an identical twin. Learning to rely on physical references instead of “eyeballing it” is the moment you move from “doing DIY” to “practicing craft.”
The “Sanding Sequence”: From 80 to 220:
I used to think sanding was just a suggestion. I’d hit a piece of wood with some 100-grit paper for thirty seconds and call it a day. Then I’d apply stain and wonder why my project looked like it had been attacked by a caffeinated beaver.
The Sanding Sequence is the most important “boring” skill you will ever learn. You start with 80-grit to remove the “mill marks” (the ripples left by the machines at the lumber yard). Then you move to 120, and finally 220. Each grit “erases” the scratches left by the previous one. I mastered my finishes by following the “Pencil Trick.” Scribble a light pencil line over the entire surface of your wood. When the pencil line is gone, you’ve sanded enough to move to the next grit. This simple quality control method ensures your final product feels like silk rather than a sidewalk.
Project 3: The “Tapered-Leg” Coffee Table:
Now we are getting into “design.” A coffee table is just a bigger version of your workbench, but with one key difference: aesthetics. This project introduces you to the tapered leg.
You can buy pre-made legs, but making them yourself using a simple “tapering jig” on your circular saw is a massive confidence booster. It teaches you about angles and tapers. A straight 2×4 leg looks like a workshop bench; a tapered leg looks like a piece of furniture. This project is where you start thinking about “Grain Direction.” You’ll learn to look at the wood and decide which side is the “show face.” Woodworking is as much about curation as it is about construction. You are choosing which parts of the tree’s history to put on display in your living room.
Learning from My “Pocket Hole” Disaster:
I once tried to build an entire dining table using only “Pocket Holes” because a YouTuber told me it was “the easiest thing ever.” I didn’t realize that pocket holes exert a lot of lateral pressure. As I tightened the screws, my tabletop shifted, leaving a 1/8-inch “lip” that made the table look like a set of stairs.
I spent three days trying to sand that lip flat. That woodworking experience taught me about “Clamping and Alignment.” You cannot trust screws to hold wood in place while you drive them. You must clamp your pieces until they are immovable, then drill. It’s a lesson in patience. In the workshop, the “fast way” is almost always the “long way” because you’ll spend twice as much time fixing the mistake.
The Secret of “Wood Movement”:
Wood is not a dead material; it is a “breathing” bundle of straws. When the humidity in your house changes, the wood expands and contracts. If you trap it too tightly, by gluing a solid wood top directly to a frame, the wood will literally tear itself apart. It will crack, warp, or “cup.”
Understanding seasonal wood movement is the difference between a project that lasts six months and one that lasts sixty years. I mastered this by learning to use “Tabletop Fasteners” (often called Z-clips). These allow the top of a table to slide back and forth by a fraction of an inch as the seasons change. It’s a “hidden” detail that your guests will never see, but it’s the hallmark of an expert woodworker. Respect the tree, or the tree will break your heart.
Project 4: The “Box Joint” Keepsake Chest:
This is the project that takes you into the world of precision joinery. A box joint (or finger joint) looks incredibly impressive, but with a simple DIY jig, it’s just a matter of repetition.
This project teaches you about the “Kerf”, the thickness of the saw blade. Most people forget that the blade doesn’t just cut; it removes a 1/8-inch slice of wood and turns it into dust. If you don’t account for the kerf, your joints won’t fit. This project forces you to think in three dimensions. It’s a mental puzzle that results in a beautiful, interlocking corner that screams “hand-crafted.” When you pull those fingers together and they “click” into place, you’ll officially be hooked on the craft for life.
The “Finishing” Philosophy: Oil vs. Poly:
You’ve built it, you’ve sanded it, now you have to protect it. I used to think “Clear Coat” was just one thing. I didn’t realize the difference between a Film Finish (like Polyurethane) and a Penetrating Finish (like Danish Oil).
- Polyurethane: Creates a plastic-like shell on top. It’s indestructible and great for kitchen tables where people spill wine and toddlers throw forks.
- Danish Oil: Soaks into the wood. It doesn’t offer much protection against scratches, but it makes the wood look “natural” and is incredibly easy to repair.
I mastered my finishing by choosing the right “weapon” for the job. For a beginner, I always recommend a Wipe-On Poly. It’s foolproof. You wipe it on with a rag, let it dry, and repeat. No brush strokes, no drips, and no stress.
Dealing with “Lumber Yard Anxiety”:
Walking into a professional lumber yard can be intimidating. They use terms like “4-quarter,” “S3S,” and “Board Feet.” For your first projects, stay at the big-box home improvement stores. Look for “Select Pine” or “Poplar.”
The trick to buying quality lumber is the “Sight Test.” Pick up a board, hold one end to your eye, and look down the length like you’re aiming a rifle. If it looks like a banana or a propeller, put it back. You want “Straight and True.” Starting with straight wood makes the entire build 100% easier. I spent years trying to “clamp the curve” out of cheap wood. Don’t do that. Spend the extra five dollars on a straight board; your sanity is worth more than five bucks.
The “Shop Safety” Non-Negotiables:
We need to talk about the “Boring Stuff.” A table saw can ruin your life in 0.02 seconds. I mastered my shop safety by creating a “Safety Ritual.”
- Eyes and Ears: Every time a motor starts, the glasses and muffs are on.
- The “Ghost Cut”: Before I turn on the saw, I move the wood through the motion with the power off. If my hand feels weird or “too close,” I rethink the cut.
- No Loose Clothing: A hoodie string caught in a drill press is a nightmare you don’t want to live.
Woodworking is a high-consequence hobby. Respect the tools, and they will respect you. Never work when you are tired, frustrated, or “in a rush.” The safety-first mindset is what allows you to enjoy the craft for a lifetime instead of ending your journey in an emergency room.
Project 5: The “Z-Frame” Barn Door:
The barn door is the ultimate “Bang for Your Buck” project. It’s essentially just a large panel with some decorative bracing. It teaches you about scale and weight.
You’ll learn how to use “Tongue and Groove” boards to create a wide surface and how a diagonal brace (the “Z”) prevents the door from “sagging” over time. This project also introduces you to hardware installation. Aligning a sliding track requires a level of precision that will serve you well in all future home renovations. It’s a weekend project that completely transforms the look of a room, proving that you don’t need a PhD in joinery to make a massive impact on your home’s value.
Building a “Maker Community”:
The final piece of an empty workshop isn’t a tool, it’s people. Woodworking can be lonely. I mastered my growth by joining local “Maker Spaces” and online forums.
When you get stuck, and you will get stuck, having a community to ask “How do I fix this gap?” is invaluable. You’ll realize that everyone, even the pros, makes mistakes. They just know how to hide them better. Don’t build in a vacuum. Share your “Ugly First Project” on social media. The DIY community is incredibly supportive of beginners because we all remember the day we stood in an empty garage, staring at a single 2×4, wondering where to start.
Bottom Line:
Your workshop doesn’t need to be empty, and your weekend doesn’t need to be wasted. Woodworking isn’t about the tools you have; it’s about the courage to make that first cut. You’re going to mess up, you’re going to waste some lumber, and you’re definitely going to buy more clamps than you think you need. But one day soon, you’ll walk into your garage, smell the sawdust, and realize that you aren’t an imposter anymore, you’re a builder. Now, go grab that saw and make something that didn’t exist this morning.
FAQs:
1. What is the best wood for a beginner?
Pine or Poplar. They are “softwoods” (or soft hardwoods), which means they are easy to cut, sand, and screw into. They are also inexpensive, so if you mess up, your wallet won’t hurt too much.
2. Is woodworking an expensive hobby?
It can be, but it doesn’t have to be. Start with the “Essential Five” tools and buy wood for one project at a time. Many of my favorite pieces were built with “reclaimed” wood from old pallets or construction sites.
3. How do I fix a gap in my joint?
The “Old Woodworker’s Secret”: Mix some of the sawdust from your project with a bit of wood glue to create a paste. Rub it into the gap, let it dry, and sand it flat. It’s a custom-colored wood filler!
4. Do I really need a workbench?
Yes. You need a stable, flat surface to work safely and accurately. You can build a simple one on a Saturday afternoon for under $100.
5. How do I prevent my wood from splitting?
Always drill a “pilot hole” before driving a screw, especially near the end of a board. The pilot hole removes wood so the screw has a path to follow, preventing the wood from being forced apart.
6. What is the “Kerf”?
The kerf is the width of the slot left by the saw blade. A standard blade has a 1/8-inch kerf. You must always cut on the “waste side” of your line to ensure your piece stays the correct size.